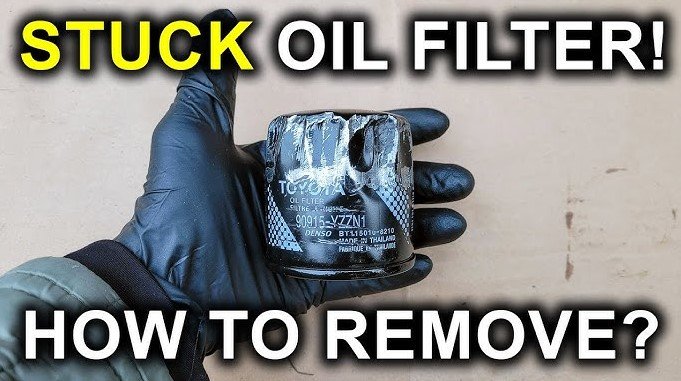
A stuck oil filter can turn a simple oil change into a frustrating challenge. Metal tools scratch surfaces, and hand strength often feels insufficient against the stubborn grip of old oil and grime. Drivers face delays, mess, and sometimes even damaged parts.
Understanding the right techniques makes the task smoother, safer, and quicker. Using the correct tools and approaches can save time and prevent injury. Each method tackles the problem differently, allowing flexibility depending on available tools and vehicle type.
From gripping tools designed for filters to clever household alternatives, solutions exist for every level of experience. Preparing the area with protective cloths and proper lubrication can ease removal significantly.
Avoid rushing or forcing the filter, as this can damage the engine or oil pan. These five methods focus on efficiency, safety, and simplicity to get the job done without extra stress.
How to Remove Stuck Oil Filter?
A stuck oil filter can ruin an oil change. Filters sometimes tighten too much during installation or stick due to dirt, rust, or old oil residue. Struggling with it can cause frustration and damage to the filter or engine.
Understanding proper tools and techniques saves time and prevents accidents. This guide explains step by step how to remove a stuck oil filter safely. Each method works for cars, motorcycles, trucks, and other engines. Even beginners can follow these instructions with ease.
Tools and Materials Needed
To remove a stuck oil filter, gather the following:
-
Oil filter wrench: Strap type, claw type, or cap type depending on your filter
-
Socket wrench set: For cap-style filters
-
Penetrating oil or lubricant: Helps loosen rusted or stuck filters
-
Drain pan: To catch spilled oil
-
Rags or shop towels: For grip and cleanup
-
Rubber gloves: Protect hands from oil and dirt
-
Rubber mallet or hammer: Optional, for stubborn filters
-
Hairdryer or heat gun: Optional, to expand metal parts slightly
Step 1: Prepare the Vehicle and Workspace
-
Park the vehicle on a flat, stable surface. Avoid slopes.
-
Turn off the engine and let it cool completely. Hot oil or engine parts can burn.
-
Raise the vehicle safely with a jack and jack stands if needed. Never rely on a jack alone.
-
Place the drain pan under the filter to catch oil that may spill during removal.
-
Wear gloves to protect your hands from hot oil and grime.
Tip: Clean the area around the filter with a rag to remove dirt. This prevents debris from falling into the engine when you remove the filter.
Step 2: Apply Penetrating Oil
Stuck filters often need lubrication to loosen.
-
Spray a small amount of penetrating oil or lubricant around the base of the filter where it connects to the engine.
-
Let the oil sit for 10-15 minutes. This softens rust and breaks the bond between the filter and engine.
-
For extremely stuck filters, apply the oil multiple times and wait longer before trying to remove it.
Tip: Do not pour too much oil. A thin layer is enough to loosen the filter.
Step 3: Choose the Right Tool for the Filter
Different filters require different tools.
Strap Wrench
-
Wrap the strap around the filter.
-
Tighten the strap so it grips firmly.
-
Turn counterclockwise to loosen the filter.
Claw Wrench
-
Place the claw wrench around the filter.
-
Tighten the wrench until the claws grip the filter.
-
Turn slowly and steadily.
Cap-Style Filter Socket
-
Select a socket that matches the filter cap.
-
Attach it to a ratchet or breaker bar.
-
Turn counterclockwise until the filter loosens.
Tip: Always turn slowly. Sudden force can break the filter or damage the engine.
Step 4: Extra Tricks for Stubborn Filters
Sometimes filters stay stuck despite using the right tool. Try these methods:
-
Use a Rubber Grip: Wrap a rag or a piece of rubber around the filter for extra grip and turn by hand.
-
Tap Lightly: Tap the filter gently with a rubber mallet. This can break the seal without damaging the filter.
-
Heat Slightly: Use a hairdryer or heat gun to warm the metal around the filter. Metal expands when heated, which can make the filter easier to remove.
-
Use a Larger Wrench: For very tight filters, a longer handle provides more leverage. Be careful not to slip and damage parts.
Step 5: Remove the Filter Safely
-
Once the filter is loose, turn it by hand until it comes off completely.
-
Check the old filter for the rubber gasket. Make sure it did not stick to the engine.
-
Clean the mounting surface with a rag to remove old oil, dirt, or gasket residue.
-
Inspect the engine threads for damage before installing a new filter.
Tip: Never force a filter too hard. Twisting steadily works better than jerking.
Step 6: Dispose of Used Oil and Filter Properly
Used oil and filters can harm the environment.
-
Collect all oil in a sealed container.
-
Take used oil and filters to a recycling center or auto shop.
-
Do not pour oil on the ground or into drains.
Safety Tips
-
Wear gloves and eye protection. Oil and debris can splash.
-
Keep the workspace clean and organized to avoid slips.
-
Avoid open flames near oil or penetrating oil.
-
Always allow the engine to cool before touching parts.
FAQs
Q1: Can I remove a stuck oil filter without tools?
Yes, but it is very hard. A rubber strap or cloth helps. Tools make it faster and safer.
Q2: Is it safe to heat the oil filter to loosen it?
Yes, use gentle heat only. Do not use a flame or very hot tool.
Q3: Can a stuck oil filter damage the engine?
Yes. Forcing it can break the filter or damage threads. Always use correct tools and patience.
Q4: How tight should I install a new oil filter?
Hand-tighten, then add about 1/4 turn with a wrench. Too tight causes it to stick next time.
Q5: What if the filter breaks while removing?
Use pliers or a filter removal tool to remove pieces. Clean the engine surface before installing a new filter.
Conclusion
Removing a stuck oil filter requires patience, the right tools, and proper technique. Lubricate the filter, use the correct wrench, and follow safety steps. Extra tricks like rubber grips, gentle tapping, or slight heat can help.
Proper removal prevents damage and makes future oil changes easier. Following this guide keeps your engine healthy and saves time and effort during maintenance.