Getting the oil filter right is crucial for your vehicle’s engine health. Too loose, and oil can leak, causing damage and reducing engine efficiency. Too tight, and removing it later becomes a frustrating struggle that can strip threads or damage the filter housing.
Many car owners overlook this simple step, thinking a firm hand is enough, but proper torque makes all the difference. Understanding how tight an oil filter should be ensures smooth maintenance, prevents leaks, and extends engine life.
Tools like torque wrenches help achieve precision, while proper lubrication on the gasket ensures a perfect seal without overtightening. Knowledge of your vehicle’s specific requirements and manufacturer recommendations provides the best guidance.
Simple habits, like cleaning the filter surface and checking threads, make maintenance safer and easier. Small adjustments during installation prevent big headaches down the road.
How Tight Should Oil Filter Be?
Oil filters protect your engine by keeping oil clean. Dirt, metal particles, and other debris can damage engine parts if oil is dirty. Installing the oil filter properly stops leaks and engine problems.
Too loose, oil spills. Too tight, the filter or engine threads may break. Many people are confused about the correct tightness.
This guide explains exactly how to tighten an oil filter safely, step by step. It also covers common mistakes, tips, and how to check for leaks. Reading this will make oil changes safer and easier.
Why Oil Filter Tightness Matters?
Oil filters seal the engine oil system. A filter that is too loose will let oil escape, lowering engine lubrication. A filter that is too tight can damage the rubber gasket or even the engine’s threads.
Both situations can lead to engine failure over time. Correct tightness ensures:
-
No oil leaks
-
Proper oil pressure
-
Long-lasting engine performance
-
Easier removal during the next oil change
Understanding the importance of proper tightness prevents expensive repairs.
Tools and Preparation
Before starting, gather these items:
-
Clean rag or paper towels to wipe oil
-
Oil filter wrench (optional for removal)
-
Fresh engine oil
-
Gloves to protect hands
-
Oil drain pan
Safety tips:
-
Always let the engine cool for 15–30 minutes before touching the filter. Hot oil can burn skin.
-
Wear gloves to avoid contact with used engine oil.
Step-by-Step Guide to Tightening an Oil Filter
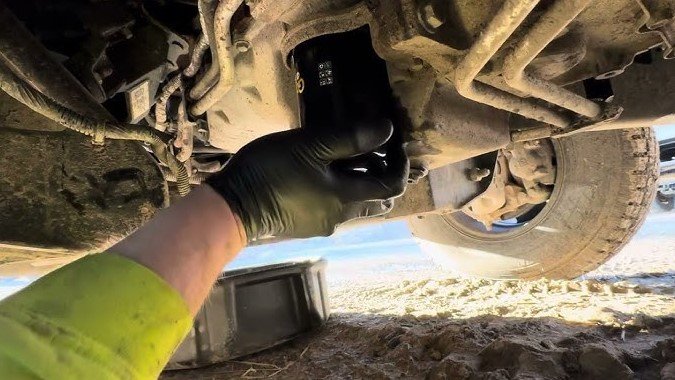
1. Remove the Old Oil Filter
-
Place a drain pan under the filter.
-
Loosen the old filter by hand or with a wrench if it is stuck.
-
Drain any remaining oil from the filter.
-
Clean the mounting surface with a rag to remove old gasket residue or dirt.
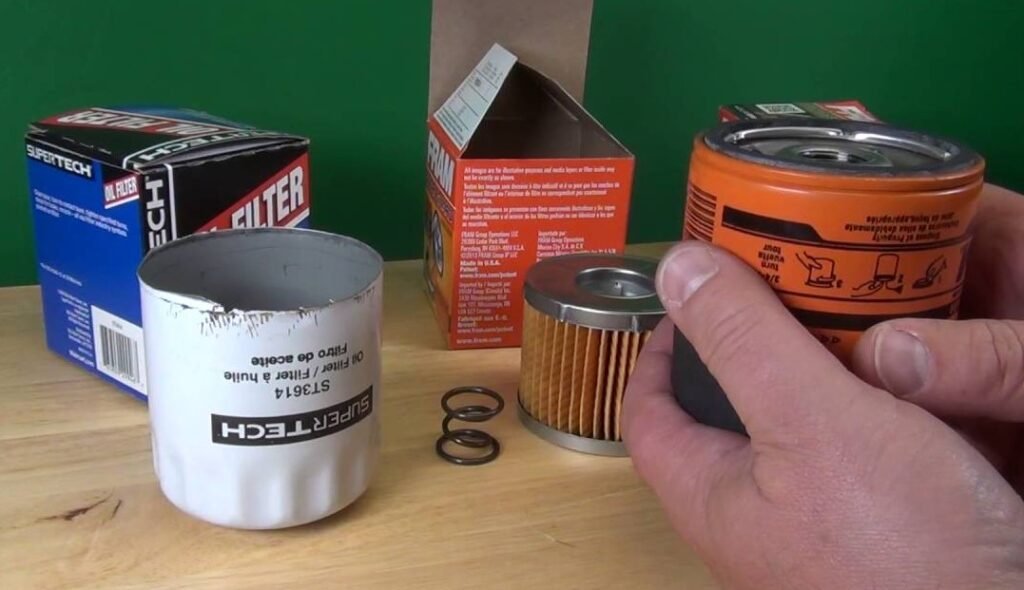
2. Prepare the New Oil Filter
-
Apply a thin layer of fresh engine oil to the rubber gasket.
-
This helps the filter seal properly and prevents sticking next time.
-
Check that the gasket is intact and not twisted.
3. Install the New Filter
-
Screw the new filter onto the engine by hand until it touches the base.
-
Make sure it goes straight to avoid cross-threading.
4. Tighten Correctly
-
Turn the filter an additional ¾ to 1 full turn by hand.
-
Avoid using a wrench unless the manufacturer explicitly says so.
-
Do not over-tighten. Hand-tight plus extra turn provides enough sealing.
5. Check for Leaks
-
Start the engine and let it run for 5 minutes.
-
Watch under the engine for oil leaks.
-
Turn off the engine and wait a few minutes.
-
Check the oil level and add more if needed.
Extra Details on Tightness
How Tight is Safe?
Hand-tight plus ¾ to 1 turn is standard. Wrench-tightening does not improve sealing. Over-tightening can:
-
Crush the gasket
-
Break the filter body
-
Damage threads in the engine
Why Hand-Tight Works
-
Rubber gaskets compress when tightened, creating a proper seal.
-
Extra turns by hand are enough to prevent leaks.
What Happens If It’s Too Loose?
-
Oil leaks from the filter base
-
Engine oil level drops
-
Engine parts wear quickly due to poor lubrication
What Happens If It’s Too Tight?
-
Gasket can deform or tear
-
Filter can stick and become hard to remove next time
-
Engine threads may strip, which is expensive to fix
Tips for Best Results
-
Always clean the mounting surface before installing a filter. Dirt or old gasket pieces can prevent a proper seal.
-
Check your car manual for special instructions. Some filters require specific torque.
-
Never force a filter with a wrench unless instructed.
-
Keep rags nearby to wipe any spills immediately.
-
Remember that over-tightening does not improve performance.
Signs Oil Filter is Tight Enough
-
No oil drips after running the engine
-
Filter feels snug by hand
-
Rubber gasket compresses slightly
-
Oil pressure stays normal
Final Thoughts
Proper oil filter tightness protects your engine from leaks and damage. Hand-tight plus an extra turn works for most cars. Avoid over-tightening or leaving the filter loose.
Check for leaks and engine oil level after installation. Following these steps ensures smooth engine performance and longer engine life.
FAQs
1. Can I tighten an oil filter with a wrench?
Only if the manufacturer recommends it. Hand-tight is usually enough.
2. How often should I change the oil filter?
Every oil change, usually every 3,000 to 7,500 miles, or follow your car manual.
3. What if I accidentally over-tighten the filter?
It can damage the gasket, the filter, or engine threads, making removal hard.
4. Can a loose filter harm the engine?
Yes. Oil may leak, reducing lubrication and causing engine damage.
5. Should I put oil on the gasket every time?
Yes. A small oil layer helps seal the filter and prevents it from sticking.